Using a virtual machine
First, install the DENT GNS3 appliance file as well as the disk image for the dent Virtual Machine. You can find the required files here:** DENT Image and gns3a file

Install the appropirate GNS3 VM for your machine
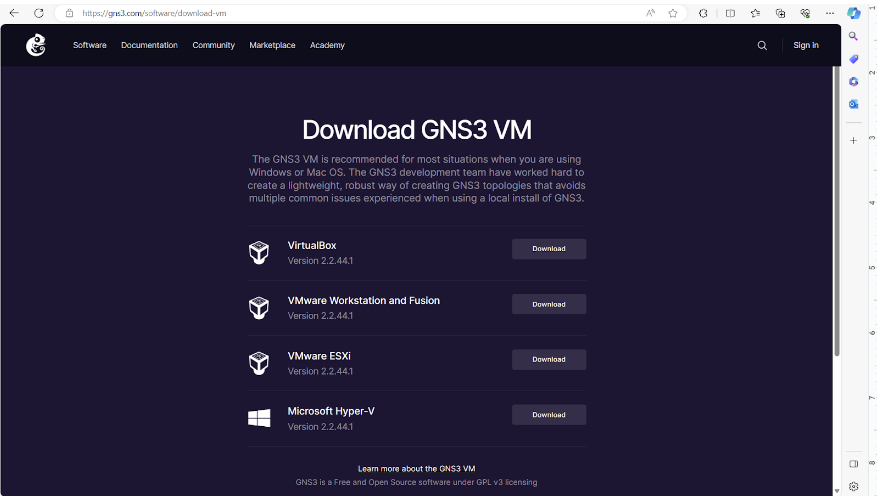
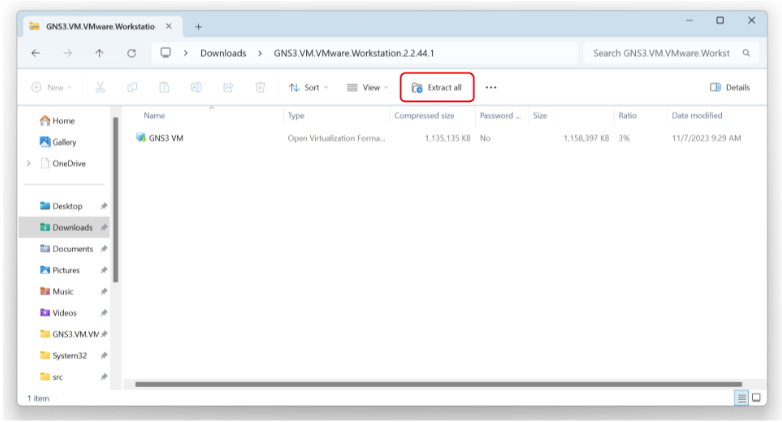
If you are using VMware Workstation Pro, install the VMWare Workstation and Fusion GNS3 VM and extract the .zip folder you downloaded.
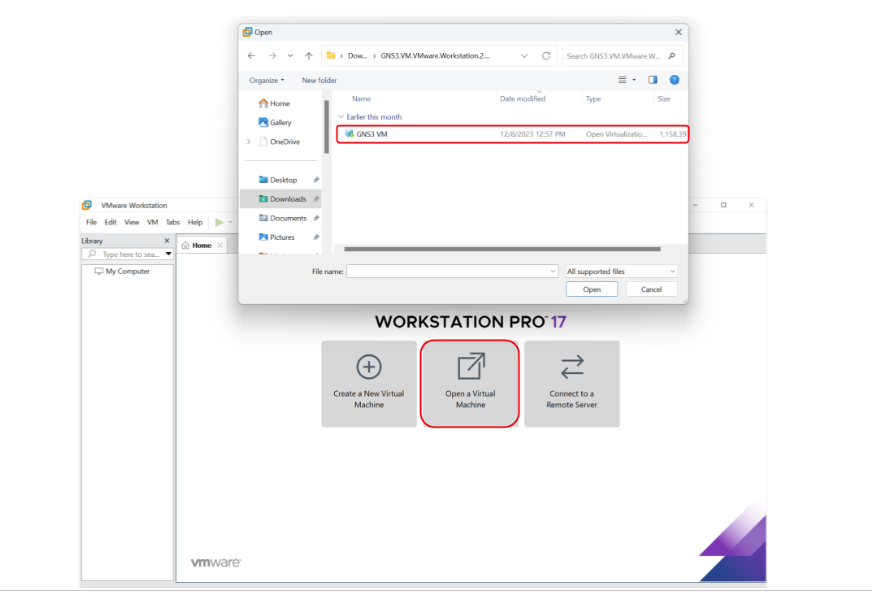
Open VMWare Workstation then click Open a Virtual Machine and select the extracted GNS3 VMWare Workstation folder.
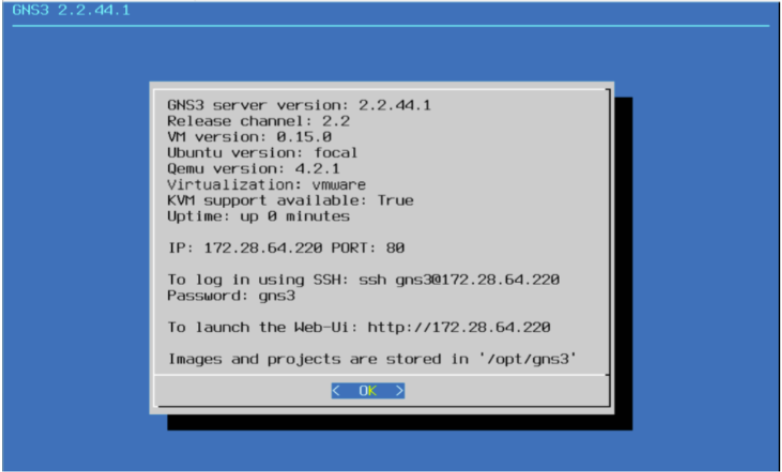
When ready, run the Virtual Machine. You should see a screen similar to this below once the Virtual machine is running.
Now Open GNS3, go to Edit -> Preferences -> GNS3 VM and check the “Enable the (GNS3) VM” box. Select the appropriate Virtual Machine you are running GNS3 on as your Virtualization Engine and click ok
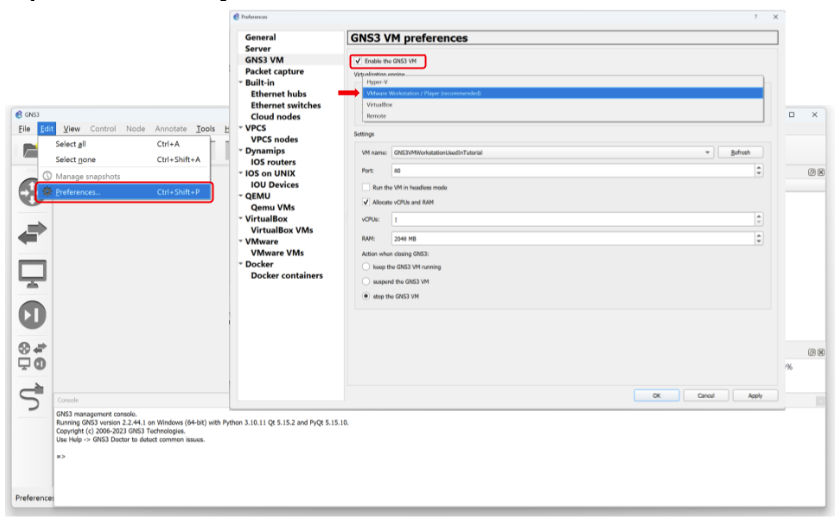
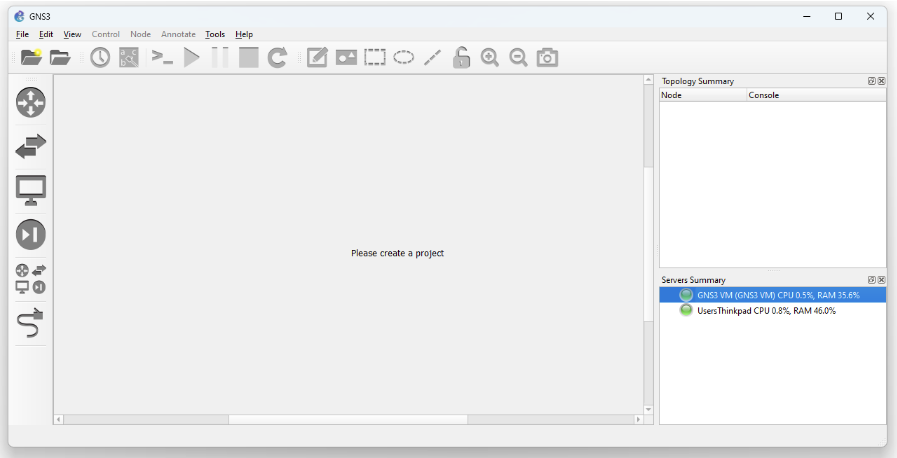
You Should now See an Additional Server Listed under Server Summary
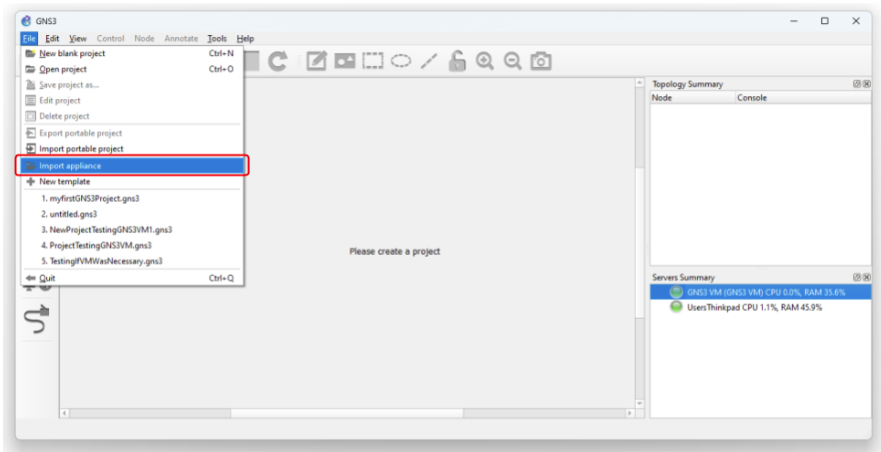
Go to File -> Import Appliance and select the appliance file. In this scenario we will select one of the previously downloaded files “DENT - 3.2”.
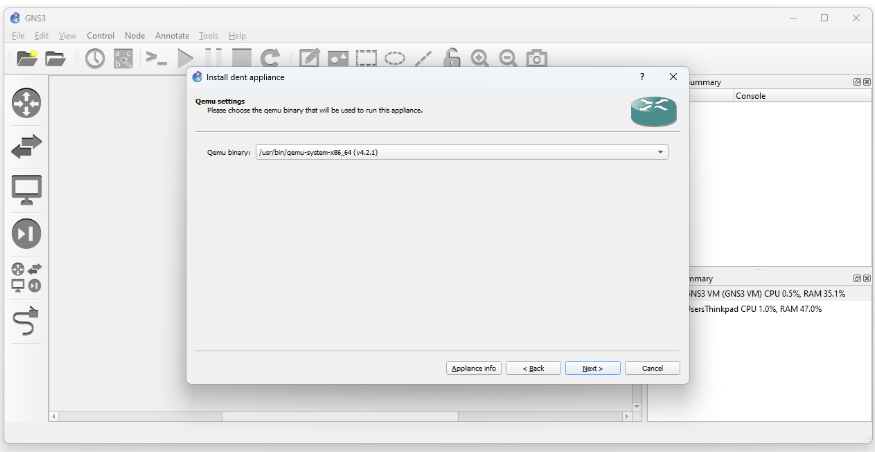
The QEMU binary that will be used to run this appliance is recommended as /bin/qemu-system-x86_64(v4.2.1).
Next, we need to import the DENT image file by selecting again one of the previously downloaded files “dent-vm.qcow2” and clicking import.
Wait for the upload to finish, it may take some time.
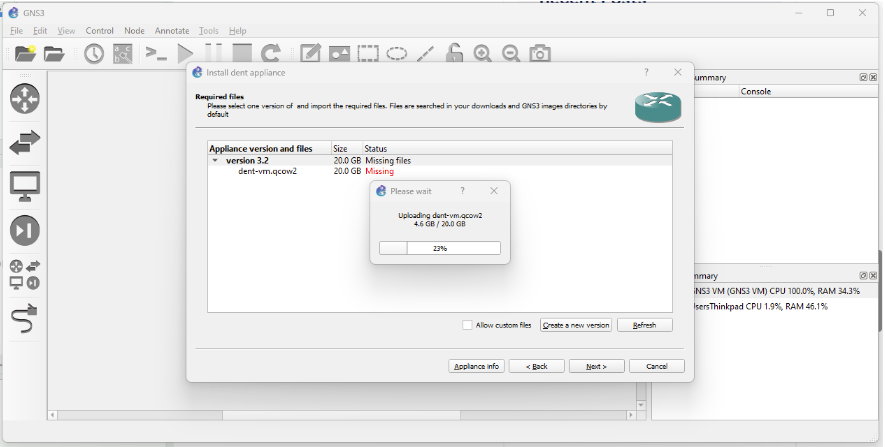
Once the upload is finished, you may click next and yes to install DENT
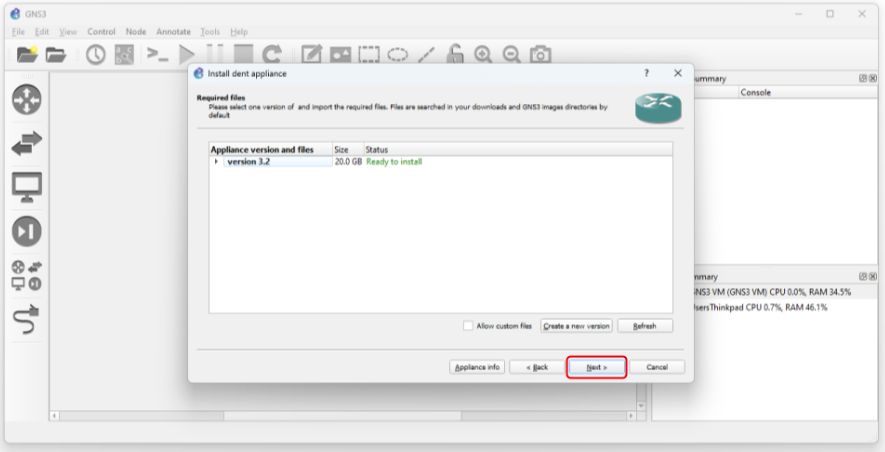
Once Installed you may now use the DENT appliance in GNS3. The example below demonstrate 3 dent appliances connecting to each other
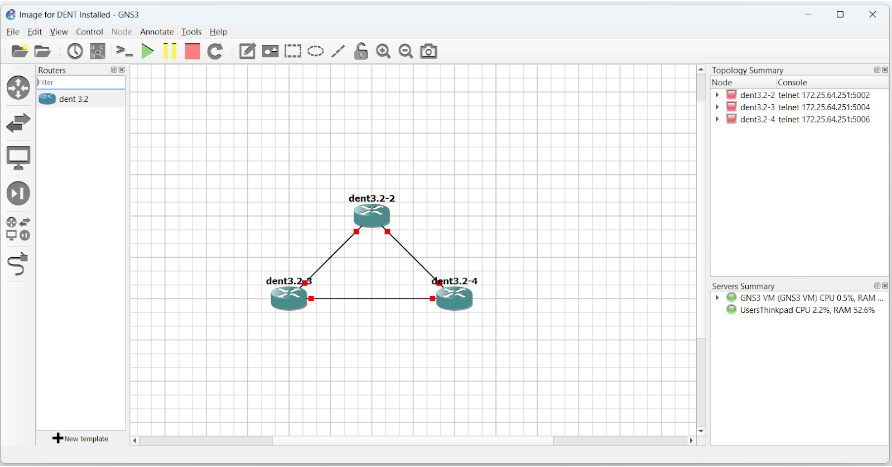
After Starting the simulation you may right-click on any DENT appliance and select console to log-in.
The default credentials are:
- Localhost login: root
- Password: onl
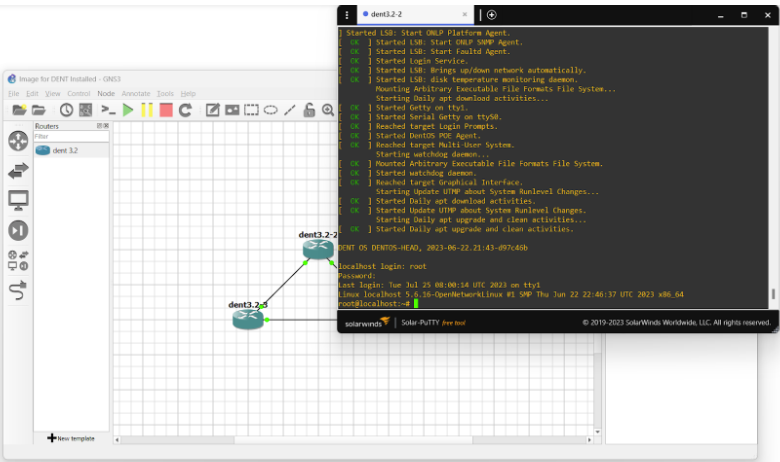
You have now successfully set up DENT in GNS3 with a virtual machine
For more information, you can visit dent.dev.